
This Panda Loaf is so adorable that it's almost irresistible. This recipe and tutorial will show you how to shape the panda loaf. A word of caution though... such sculpted loafs' design is dependent on how you shape your bread. Even if you were to follow this recipe and tutorial, you may not get the exact same size of eyes/ears etc for your bread. But then again, that's the fun of such loaf breads!
So this recipe takes about 4 hours in all to prepare. I used a Kenwood BM 250 bread machine to mix my dough but you can use the same recipe for your bread machine or stand mixer. I'd rate it a difficulty level 4 out of 5.


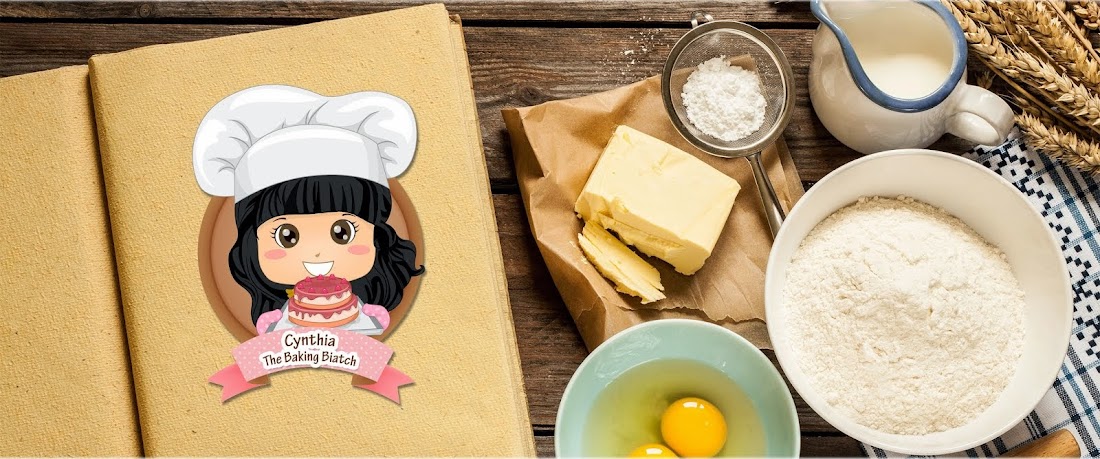
Panda Loaf Recipe
1 egg yolk
210g fresh milk
230g bread flour
70g cake flour
4g yeast
30g sugar
18g unsalted butter
4g salt
8g charcoal powder
8g hot water
8g green tea powder
1.5 tbsp pandan paste
10g hot water
Vegetable oil
Method
Have the wet ingredients placed into the bread machine.
Top with flour (2 types).
Add sugar on one side.
Add yeast in the middle of the flour 'bed'.
Let cycle run.
When second mixing starts, add salt and butter.
Remove dough when mixing cycle stops.

Have the water and charcoal powder in a bowl and mix well.

Portion out 75g of bread dough for the black portion and add charcoal mixture. Knead well by hand. When well mixed, oil a small bowl as well as the surface of the bread dough. Cover with cling wrap and set in dry warm place to rise for 40 minutes.
Portion out 210g of plain (white) dough. Oil a small bowl as well as the surface of the bread dough. Cover with cling wrap and set in dry warm place to rise for 40 minutes.

Have the green tea powder, pandan paste and hot water in a bowl and mix well.

To the rest of the dough, add the green mixture. Knead well by hand. When well mixed, oil a small bowl as well as the surface of the bread dough. Cover with cling wrap and set in dry warm place to rise for 40 minutes.
When the 3 doughs have risen to almost double it's size after 40 minutes of proofing, remove for shaping. Oil/Dust hands with bread flour to work on the bread dough.
Portion out the following:
90g plain dough for face
30g plain dough for hollow between eyes
Remaining plain dough for 'blanket'
27g charcoal dough X 2 for eyes
18g charcoal dough X 2 for ears
70g green dough for hollow between ears
Remaining green dough for 'blanket'

This is the pullman tin that I used.

Roll out the 90g of plain dough into a cylindrical tube the length of your pullman tin.
Roll out the 30g of plain dough into a cylindrical tube the length of your pullman tin. Using water as a 'glue', place the 30g dough directly on top of the 90g piece of dough.

Roll out the 2 X 27g of charcoal dough into a cylindrical tube the length of your pullman tin. Using water as a 'glue', place the 2 pieces of charcoal dough beside the 30g of plain dough.

You should get something like this.
Take the remaining plain dough and roll it out into a rectangular the length of your pullman tin. Wrap the 'roll' inside the blanket with the seams pinched and sealed with some water.

You should get something like this!

Ensure that the bread is on the correct side, roll out the 70g of green dough into a cylindrical tube the length of your pullman tin. Using water as a glue, 'glue' the dough together.

Roll out the 2 X 18g of charcoal dough into a cylindrical tube the length of your pullman tin. Using water as a 'glue', add the 'ears' to the sides of the 70g piece of green dough.

Take the remaining green dough and roll it out into a rectangular the length of your pullman tin. Wrap the 'roll' inside the blanket with the seams side down (TAKE NOTE!) pinched and sealed with some water. Pinch and secure the sides as well.

Oil the insides of your pullman tin (lids inclusive) and place bread inside. Proof for an hour in a warm and dry place.
Preheat oven at 170 degree Celsius for 15 minutes before loaf is done proofing. Bake bread for 25 minutes with lid on. Remove lid and bake for another 5 minutes.

Allow bread to cool completely before slicing.

Enjoy the fun that comes with slicing the different parts of the bread! (:

I'd love to see the bakes or stuff you've cooked using the blog's recipe! Do share photos of stuff you've baked or cooked using the blog's recipe with me either via FB message to http://facebook.com/limcynthia OR http://facebook.com/thebakingbiatch OR via email at cynthia.lim.hl@gmail.com! I look forward to hearing from you! (:
No comments:
Post a Comment